
If you have ever scrolled past a pretty embroidery hoop on Instagram and thought "I wish I could do that, but it looks complicated", this guide is for you. Embroidery is genuinely one of the most beginner-friendly crafts out there. You do not need a sewing machine, an art degree, or a spare room - just a hoop, some thread, and about twenty minutes to yourself.
This is the only beginner's guide you will need. By the end, you will know exactly what to buy, what to learn first, how long your first project will take, and how to avoid the three mistakes that make most new stitchers quit before they have really started.
What is embroidery, exactly?

Embroidery is the art of decorating fabric with thread. That is it. You push a needle through the fabric, bring it back up, and repeat - forming shapes, outlines, and little pictures as you go. There is no sewing machine, no pattern-cutting, and no measuring.
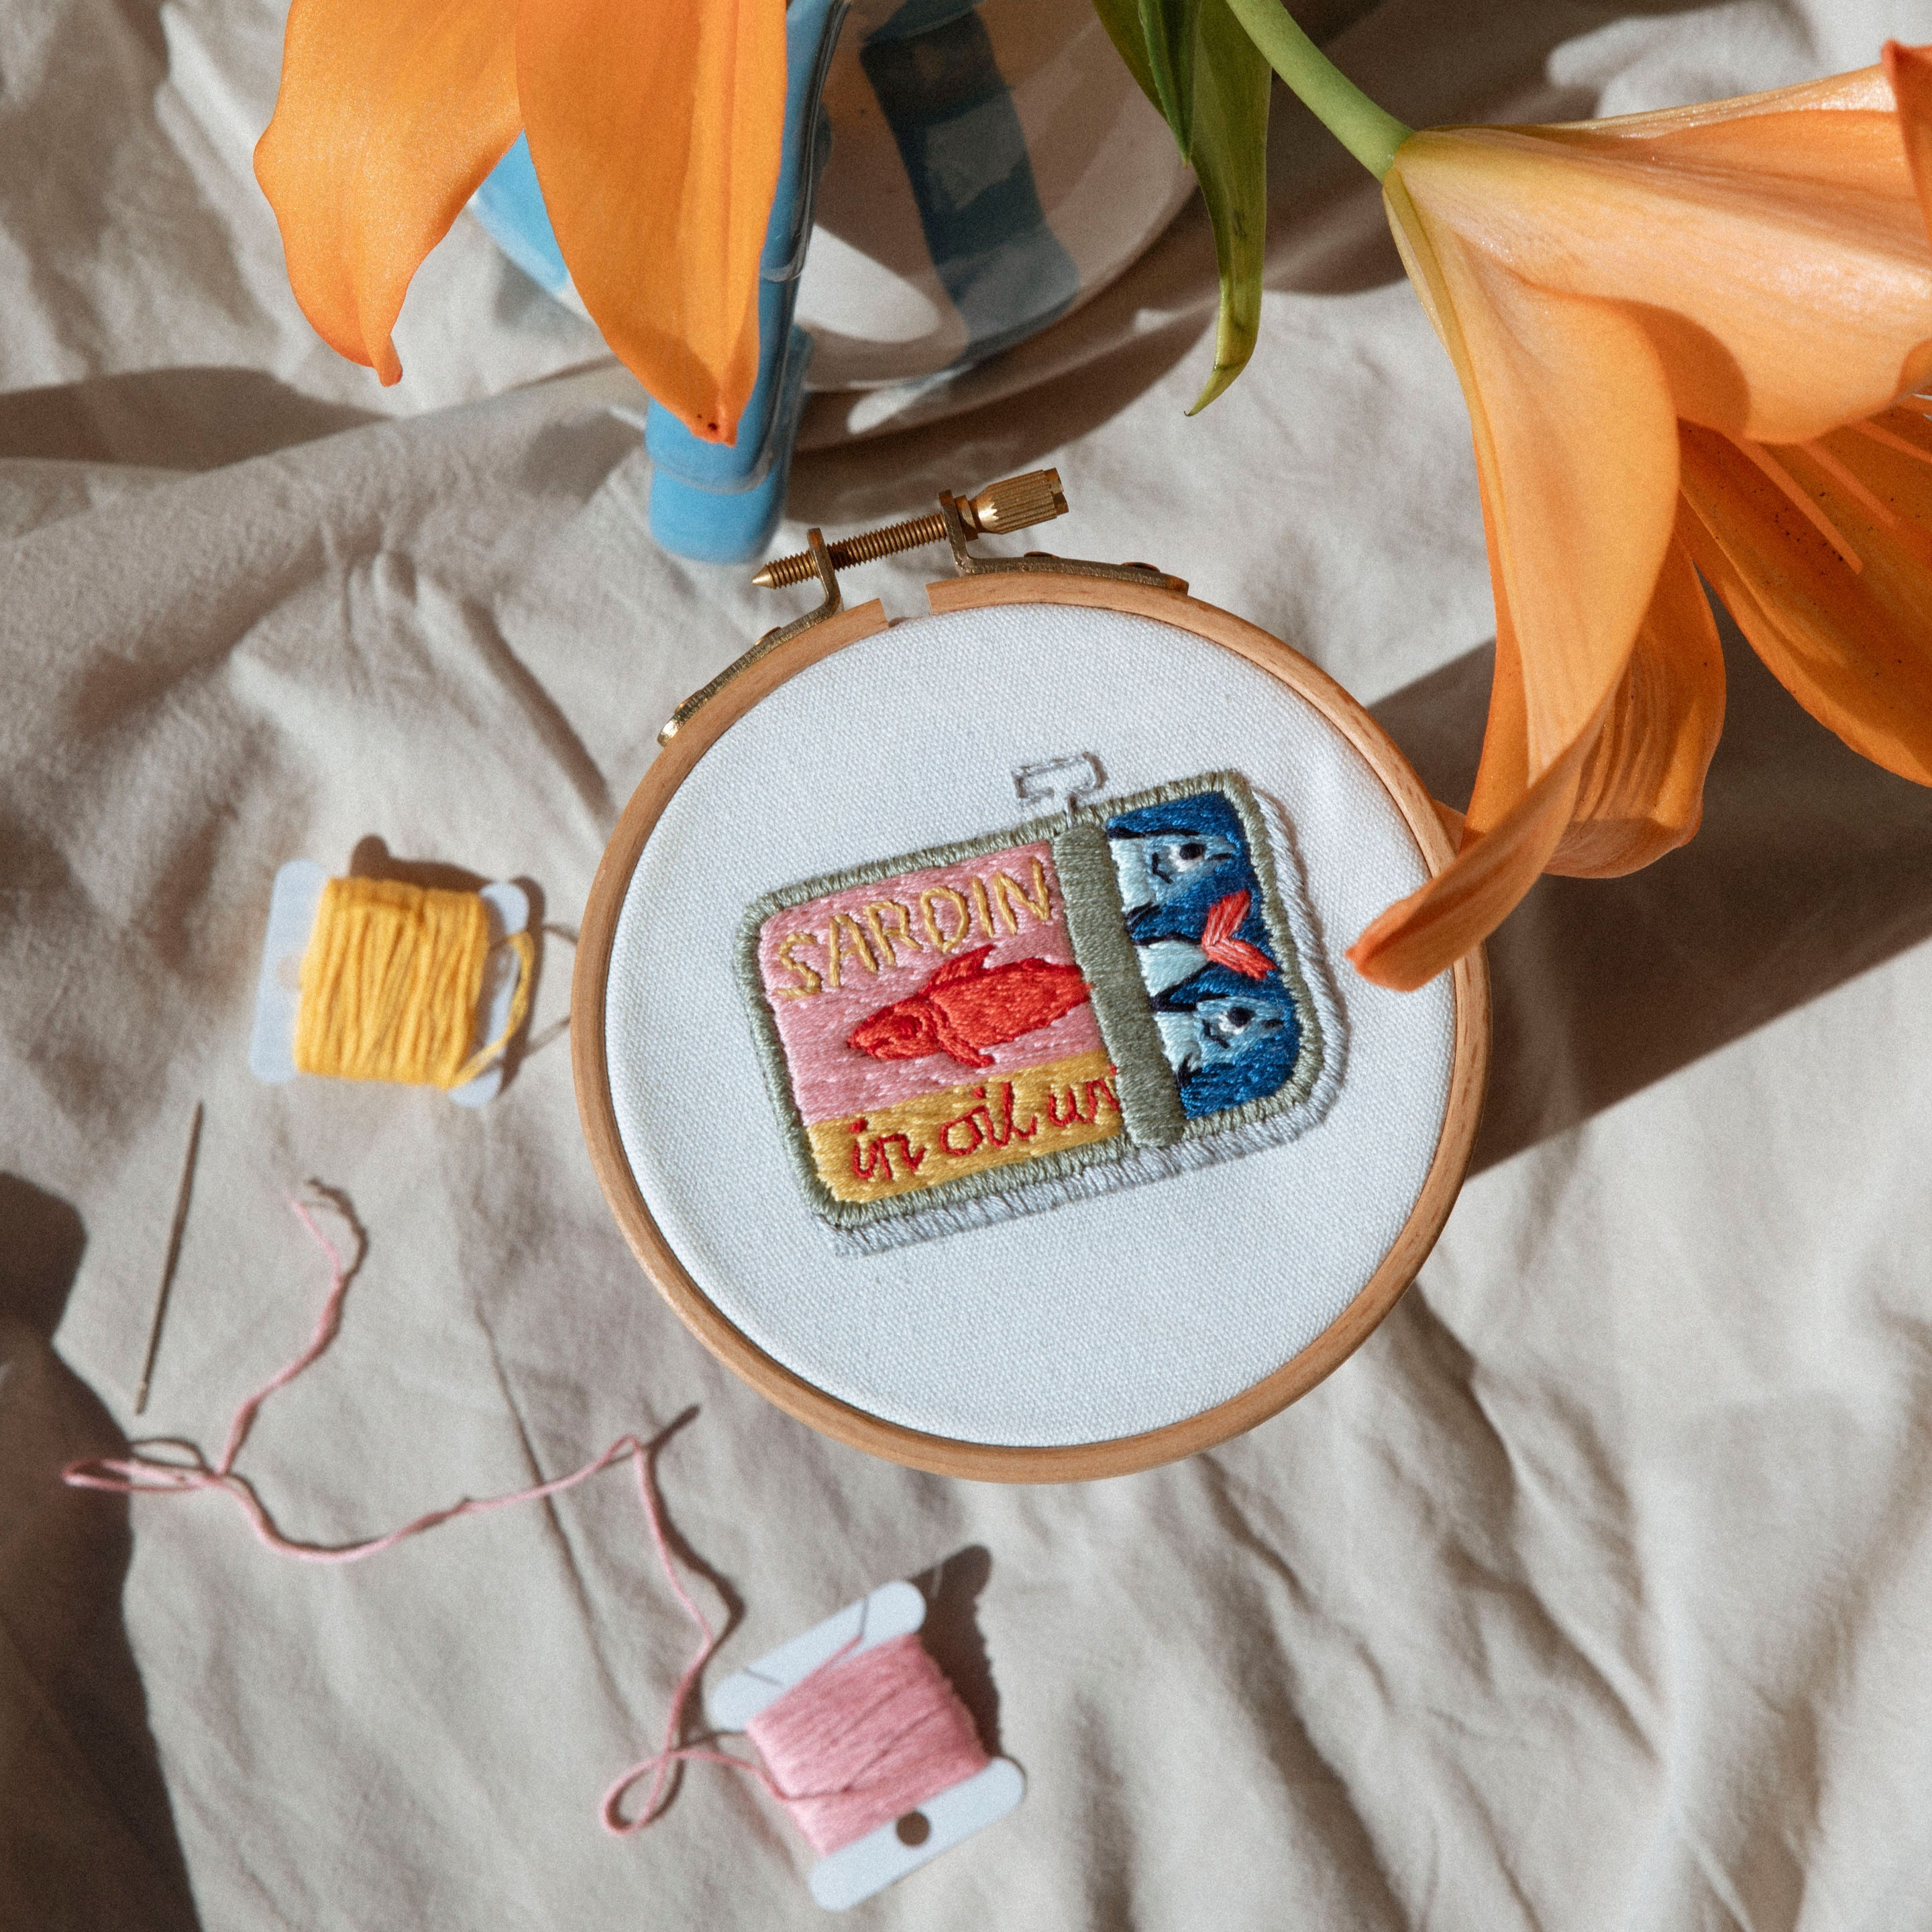
Modern embroidery has moved a long way from the doilies you might remember from your grandma's sideboard. Today's designs are fresh, colourful and personality-filled - think Australian wildlife, tinned sardines, chillies, wildflower meadows and cheeky little lobsters. Pick a design you actually want to hang on your wall, and the learning curve suddenly feels a lot less intimidating.
What you need to start (and what you can skip)

The short answer is: a kit. A good beginner kit removes every single decision you would otherwise have to make, which matters more than you think when you are starting out. Walking into a craft shop and trying to guess which needle, which thread weight, which fabric and which hoop go together is exactly how people end up with a half-finished mess and a bad first impression of the hobby.
A proper beginner kit includes:
- Pre-printed fabric - the design is already on the cloth, so you do not have to trace or transfer anything
- Pre-cut, numbered threads - no guesswork matching colours to a chart
- A wooden hoop - ideally with real hardware, not bendy plastic or bamboo
- Two or three needles - sharp enough to glide through cotton, sized for stranded thread
- A beginner-friendly guide - photos or videos showing each stitch step by step
If your kit has all five of those things, you are set. If it does not, put it back. Every kit in the Stitched Up Kits beginner-friendly collection ships with the full list, which is exactly why we recommend starting there.
Mini kit or big kit?
For your very first project, go small. A 4-inch mini kit takes two to four hours and gives you a quick, satisfying finish. Bigger 6 and 7-inch hoops are lovely, but they can take six to ten hours across multiple sessions, which is a lot to commit to before you know whether you even like the craft. Finish a mini first, then graduate.
The first three stitches you actually need
You do not need to learn twenty stitches before you start. You need three. Every single beginner design in our range can be completed with these three, and once you have them sorted, everything else is a variation.
1. The back stitch (your outline workhorse)
The back stitch is the one you will use for every line, every stem, every outline. Come up through the fabric, go forward a few millimetres, then come back up and stitch backwards into the end of your previous stitch. The result is a clean, solid line that does not break when you pull. If you only ever learn one stitch, make it this one.
2. The satin stitch (your filler)
When you need to fill in a petal, a leaf or a solid shape, the satin stitch is your friend. It is just a series of straight stitches laid side by side, packed tightly enough to completely cover the fabric underneath. Keep your tension even and the stitches parallel, and you will end up with a satiny, almost painted-looking finish.
3. The French knot (your tiny hero)
French knots look fiddly but they are wonderful once you get them. They are the little raised dots you use for flower centres, bee stripes, eyes, and scattered detail. The trick is to wrap the thread around the needle, then push the needle back down through the fabric right next to where it came up - not through the same hole. Practise five or six on a scrap before you commit.
How many strands of thread should you use?
Standard embroidery thread (what most kits use) comes as six strands lightly twisted together. For beginner kits, three strands is the sweet spot - thick enough to cover well, thin enough to pull through the fabric without fraying. If the instructions in your kit say something different, follow the instructions. They are tuned to the specific design.
Setting up your hoop the right way
Unscrew the top of your hoop, lay the fabric over the bottom ring, press the top ring down over it, and tighten the screw while gently pulling the fabric taut from the edges. You want it drum-tight - when you flick it with a finger, it should give a soft tok sound. Loose fabric is the single biggest reason beginner stitches come out wonky.
The three mistakes that make beginners quit

Starting too big. A full-size floral sampler as your first project is a fast way to get overwhelmed. Start with a mini.
Using cheap supplies. Flimsy plastic hoops, scratchy fabric and budget thread all fight you instead of helping you. A proper kit costs about the same as two cocktails and lasts forever.
Expecting perfection on stitch one. Your first French knot will be ugly. Your second might be worse. By French knot number ten, they will look fine. Give yourself permission to be bad at a new thing - it is the only way to get good at it.
Ready to pick your first kit?

If you want the absolute easiest on-ramp, our Beginner Stitch Sampler Kit walks you through eleven essential stitches in a single project, so you finish with both a piece of art and a whole toolkit of skills. From there, pick whichever design makes you smile every time you scroll past it. That little flicker of "I want to make that" is the whole point.
Now go pour a cup of tea, queue up a good show, and start stitching. You will surprise yourself.


Leave a comment
This site is protected by hCaptcha and the hCaptcha Privacy Policy and Terms of Service apply.