
You finished your first embroidery kit. Now what?
There is a very specific kind of pride that comes with tying off the last stitch on an embroidery project. You have spent hours with that hoop in your lap, and now it is done - neat, colourful, a little wonky in places, completely yours. And then comes the slightly awkward question: what do you actually do with it?
Tucking it into a drawer feels like a waste. Leaving it in the wooden hoop you stitched it in works for a while, but the back is messy and the fabric edges fray. The good news is that finishing and displaying your embroidery is genuinely easy, and you have way more options than most beginners realise.
This guide walks through the most popular ways to display a finished piece, from the classic hoop frame to pillows, cards, and gallery walls. Whether your piece is a small mini hoop or a full-sized design from our best-selling kits collection, there is a finish here that will suit it.
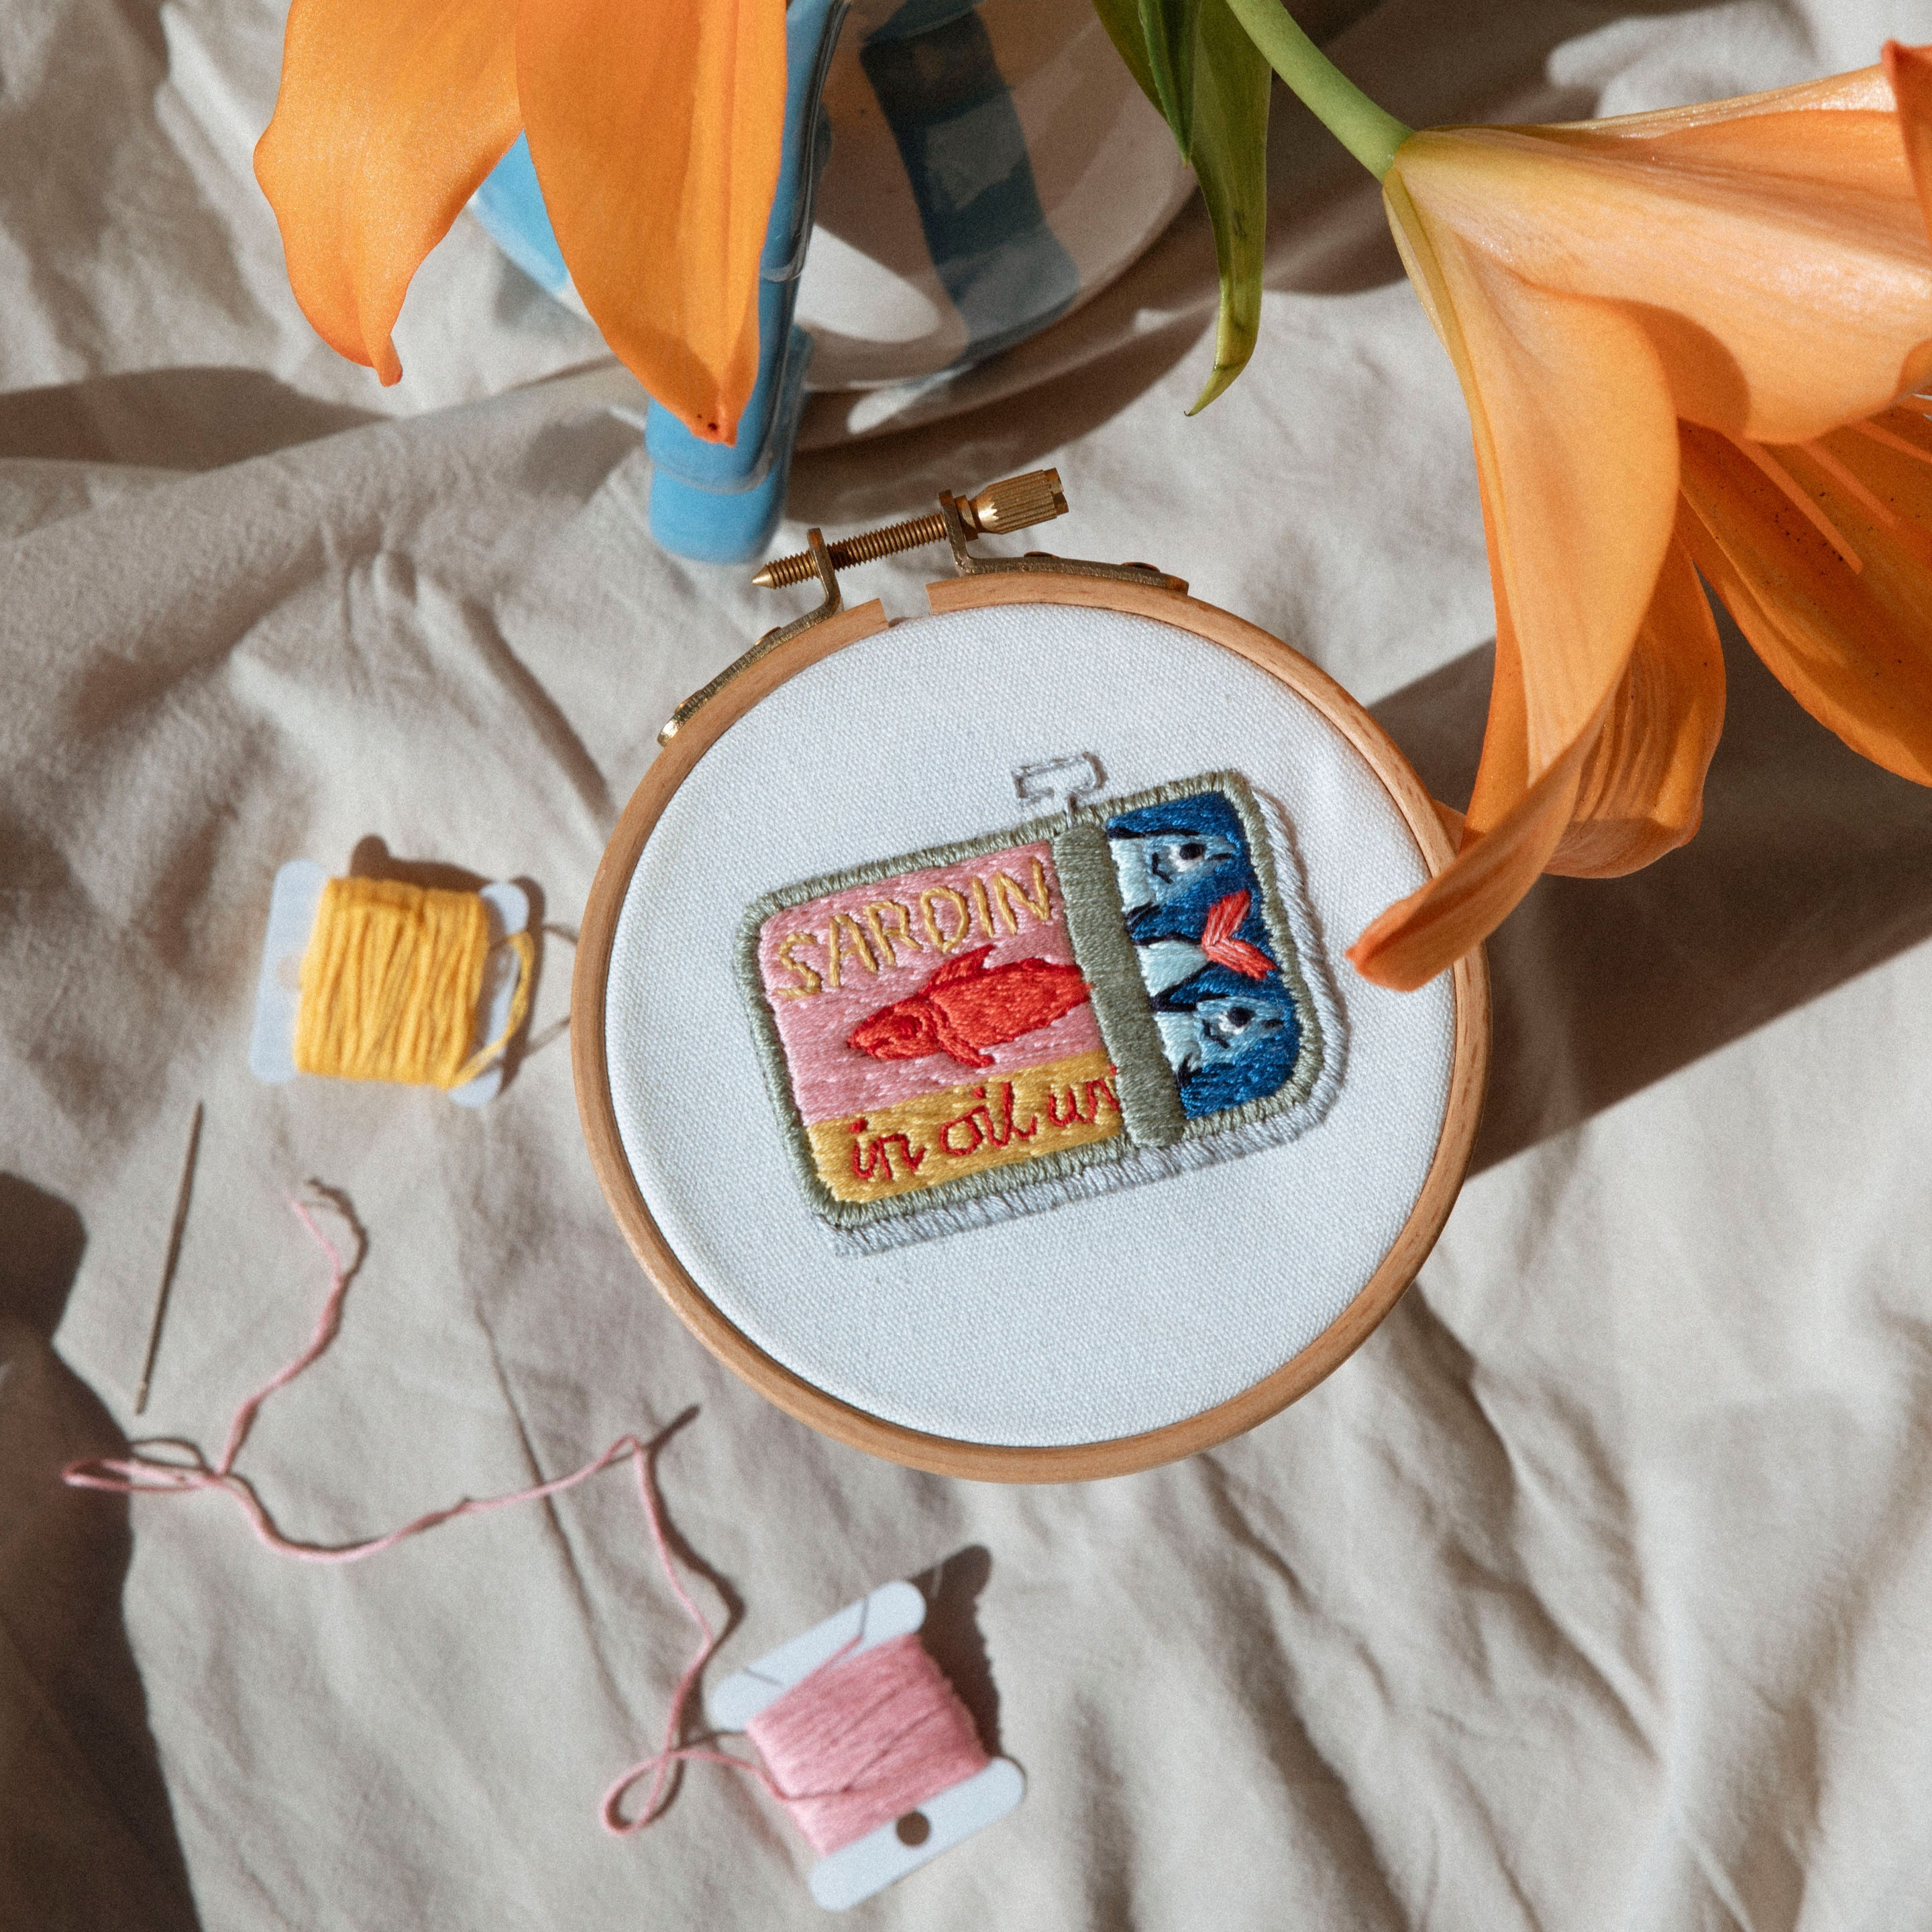
Option 1: Keep it in the hoop (the easy win)
This is the most popular way to display embroidery, and for good reason. The hoop itself becomes the frame, which means no extra materials, no trips to a frame shop, and a finished piece you can hang within about ten minutes.
The only catch is the back. A raw hoop back shows the knots, thread tails, and sometimes a mess of fabric bunched under the screw. Tidy it up and the whole piece instantly looks more polished.
The simplest method is to trim the excess fabric down to about 2 cm around the hoop, then run a gathering stitch around the edge and pull it tight so the fabric cinches in on the back. Secure with a knot. If you want to hide the gathered edge, cut a circle of felt slightly smaller than the inner hoop and glue or whip-stitch it over the back. Clean, quiet, done.
Option 2: Frame it in a proper picture frame
If you want your embroidery to sit alongside photos and prints on a wall, a traditional picture frame is the way to go. It gives the piece a more formal, finished feel and protects the fabric from dust.
The trick is the mounting. Embroidery fabric is soft and will sag if you just slide it into a frame. Cut a piece of acid-free cardboard or foam core to fit the frame, stretch your fabric tightly over it, and tape the edges down on the back with masking tape. Then slot the whole thing into the frame as you would a print.
You can leave the glass in or take it out - both look good. Glass protects the stitches from dust but flattens some of the texture. Without glass, you keep the dimensional feel of the thread, which is part of what makes embroidery special in the first place.
Option 3: Turn it into a cushion or pillow
A stitched piece sewn onto a cushion cover is one of the most satisfying ways to actually use your embroidery rather than just look at it. A floral design becomes a reading-nook pillow. A nature scene becomes a statement cushion on the couch. Suddenly your handiwork is part of everyday life.
You do not need to sew a whole cushion from scratch - a plain linen or cotton cover from any homewares shop works perfectly as a base. Centre your embroidered fabric on the front of the cover, pin it in place, and either hand-stitch it on with small invisible stitches around the edges or use fabric glue for a no-sew option. If the embroidered fabric frays, fold the edges under before attaching.
"I never thought of making my embroidery into a cushion until I saw the idea on the Stitched Up Kits blog. I finished a meadow hoop last month and sewed it onto a plain linen cushion cover - it looks like something from a boutique shop and my husband keeps commenting on it. Best part is I actually use it every night on the couch."
- Megan R., Melbourne
Option 4: Make it a greeting card or gift tag
Smaller pieces (think 6 cm or less) are perfect for cards. Cut a window in a blank folded card, tape your embroidery behind it so the design shows through, and you have a handmade card no shop can match. For birthdays, weddings, or new-baby gifts, a tiny embroidered hoop or card is the kind of thing people keep for years.
This is also a fantastic way to use up mini designs from something like our Beginner Stitch Sampler, where you end up with multiple small motifs that deserve their own life beyond the practice hoop.
Option 5: Build a gallery wall of hoops
Once you have finished two or three pieces, the fun really starts. A cluster of embroidery hoops on a wall - different sizes, different designs, a mix of colours - looks like a curated gallery and instantly warms up any room. It also gives you permission to keep stitching, because every new piece has a home waiting for it.
A few tips for making a gallery wall look intentional rather than random:
- Mix hoop sizes (a 10 cm next to a 20 cm next to a 15 cm reads as "collection" rather than "repetition")
- Keep the spacing tight - about 5 to 8 cm between hoops
- Balance warm and cool colours across the arrangement
- Lay it all out on the floor first, photograph it, and only then hang
If you are still building your collection, our full range of beginner-friendly kits is a good place to find pieces in different sizes that still share a visual style.
A quick word on hanging
For hoop displays, a small loop of ribbon or cord tied around the tightening screw is all you need - no nails through the hoop itself. Use a small picture hook or a 3M command strip on the wall and your stitches stay protected. For framed pieces, hang as you would any print, ideally out of direct sunlight to keep the thread colours from fading over the years.
The bottom line
Finishing an embroidery kit is not the end of the project - it is the start of deciding how you want to live with it. A hoop on the wall, a cushion on the couch, a card in a friend's hand: your stitches get to keep doing their job long after the last thread is tied off. Pick the option that fits the piece and your space, and do not overthink it. The best display is the one that actually gets your work out of the drawer and into your day.


Leave a comment
This site is protected by hCaptcha and the hCaptcha Privacy Policy and Terms of Service apply.