Congratulations, you have finished your embroidery. You are staring at a hoop with a gorgeous design on the front and a messy, threaded, knotted disaster on the back. Now what?
This is the part of the craft that almost nobody explains properly, and it is the reason so many finished hoops end up shoved in a drawer instead of hung on a wall. The good news: finishing the back of an embroidery hoop is much easier than it looks, and there are four beginner-friendly ways to do it. This guide walks you through all four so you can pick the one that suits your project, your materials, and your patience.
Why bother finishing the back at all?
Two reasons. One, it looks professional - no raw fabric edges, no stray threads, no wobbly bits. Two, it protects your work. A properly finished hoop keeps the fabric tight over the years, stops dust settling into the back of your stitches, and gives you a clean surface to glue a hanging loop or a felt pad onto if you want to.
You do not have to finish the back. Plenty of people display their hoops as is, scissors-trimmed and all. But if you want a piece that looks like it came from a homewares shop, the extra ten minutes are absolutely worth it.
Before you start: trim the fabric
Whichever method you choose, start with the same step. Once your embroidery is finished and your hoop is tightened as drum-taut as it will go, use sharp fabric scissors to trim the excess fabric around the outside of the hoop, leaving about two to three centimetres of overhang. Not flush with the hoop - you need that extra fabric to work with.
Method 1: The felt backing (our favourite)
This is the cleanest, most professional-looking method, and it is what we recommend for any piece you are actually going to hang. It hides everything on the back of your hoop behind a neat circle of felt.
- Place your finished hoop face-down on a piece of felt and trace around the outer ring with a pencil or fabric marker.
- Cut the felt circle slightly smaller than your traced line - about three millimetres inside - so it tucks neatly inside the rim of the hoop.
- Fold the trimmed fabric overhang inwards and tuck it flat against the back of your hoop (you can do this with a running stitch first - see Method 2 - for the neatest finish).
- Run a bead of craft glue or fabric glue around the inner edge of the hoop's back.
- Press the felt circle into place and hold for thirty seconds.
Pros: Professional finish, hides everything, adds a soft backing. Cons: You need felt in a colour that works with your project.
Method 2: The running stitch gather
A purist's finish. No glue required, just thread and patience. You run a simple gathering stitch around the edge of the excess fabric and pull it tight so the fabric cinches into a neat pouch against the back of the hoop.
- Thread a needle with a longer length of strong thread (double it for extra strength).
- Starting on the back, push the needle up through the excess fabric about one centimetre from the edge.
- Work a running stitch all the way around the outside of the hoop, keeping your stitches about five to eight millimetres long and staying the same distance from the edge.
- When you get back to where you started, gently pull the thread to gather the fabric into the middle of the hoop's back.
- Tie off firmly and tuck the ends out of sight.
Pros: No glue, completely reversible, super neat. Cons: Takes a little longer and requires even stitching.
Method 3: The glue-and-tuck
The fastest method, ideal if you want to finish ten hoops for a gallery wall and do not have all day.
- Fold the excess fabric inwards against the back of the inner hoop ring.
- Run a thin line of fabric glue or hot glue along the fabric as you fold.
- Press the fabric flat and hold for a minute while the glue sets.
- Optionally, add a felt circle over the top using Method 1 for a fully hidden back.
Pros: Fast, easy, no stitching required. Cons: Not reversible, and cheap glue can bleed through to the front - always test first.
Method 4: The cardboard insert
This method gives your hoop a firm, flat back and is the best option if you want to add a hanging fixture or sit the hoop on a shelf without it warping.
- Trace your hoop onto a piece of stiff cardboard (cereal box weight is fine).
- Cut the cardboard circle slightly smaller than the traced line so it tucks inside the rim.
- Fold your excess fabric over the cardboard and glue or running-stitch it down to hold.
- Pop the cardboard-and-fabric sandwich into the back of the hoop and press gently so it sits flush.
- Finish with a felt circle over the top for the cleanest look.
Pros: Rigid, great for shelving, best for heavy or textured pieces. Cons: Slightly bulkier than the other methods.
Which method should you pick?
If you want the easiest clean result, use felt backing. If you want a stitched-only finish with no glue, use the running stitch gather. If you are in a hurry or finishing multiple hoops at once, use glue-and-tuck. And if you need structure for display, go with the cardboard insert.
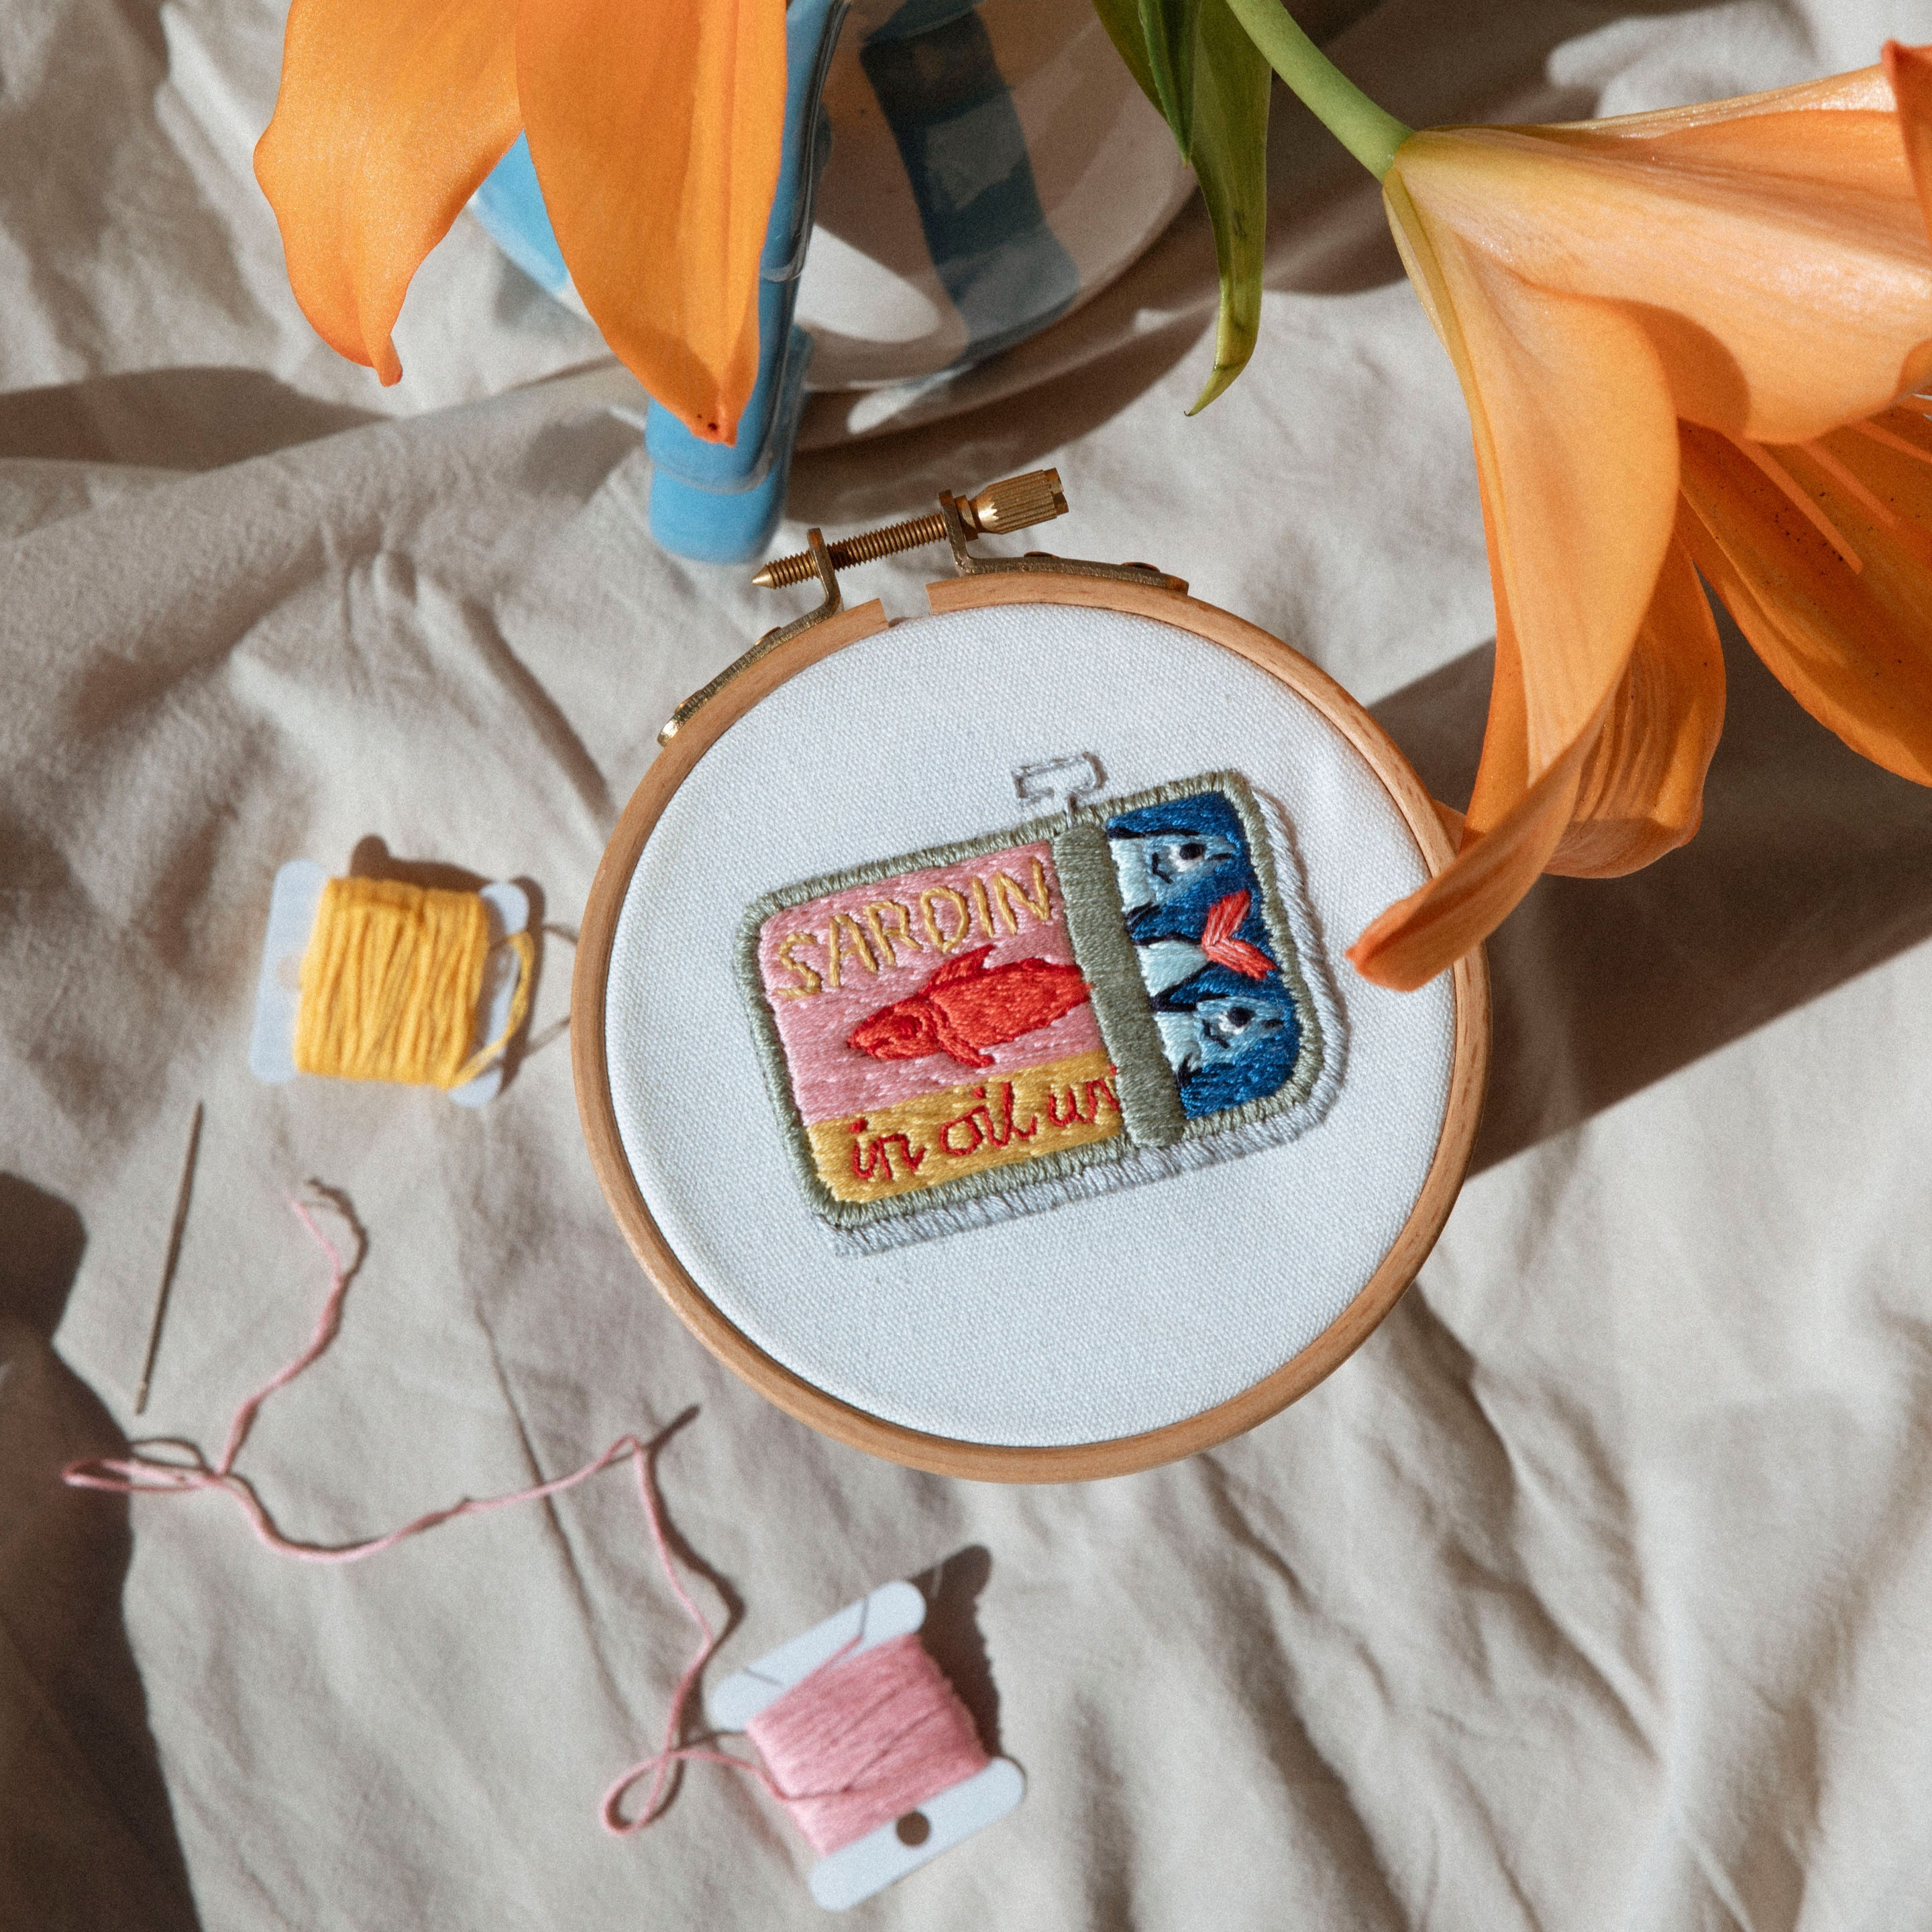
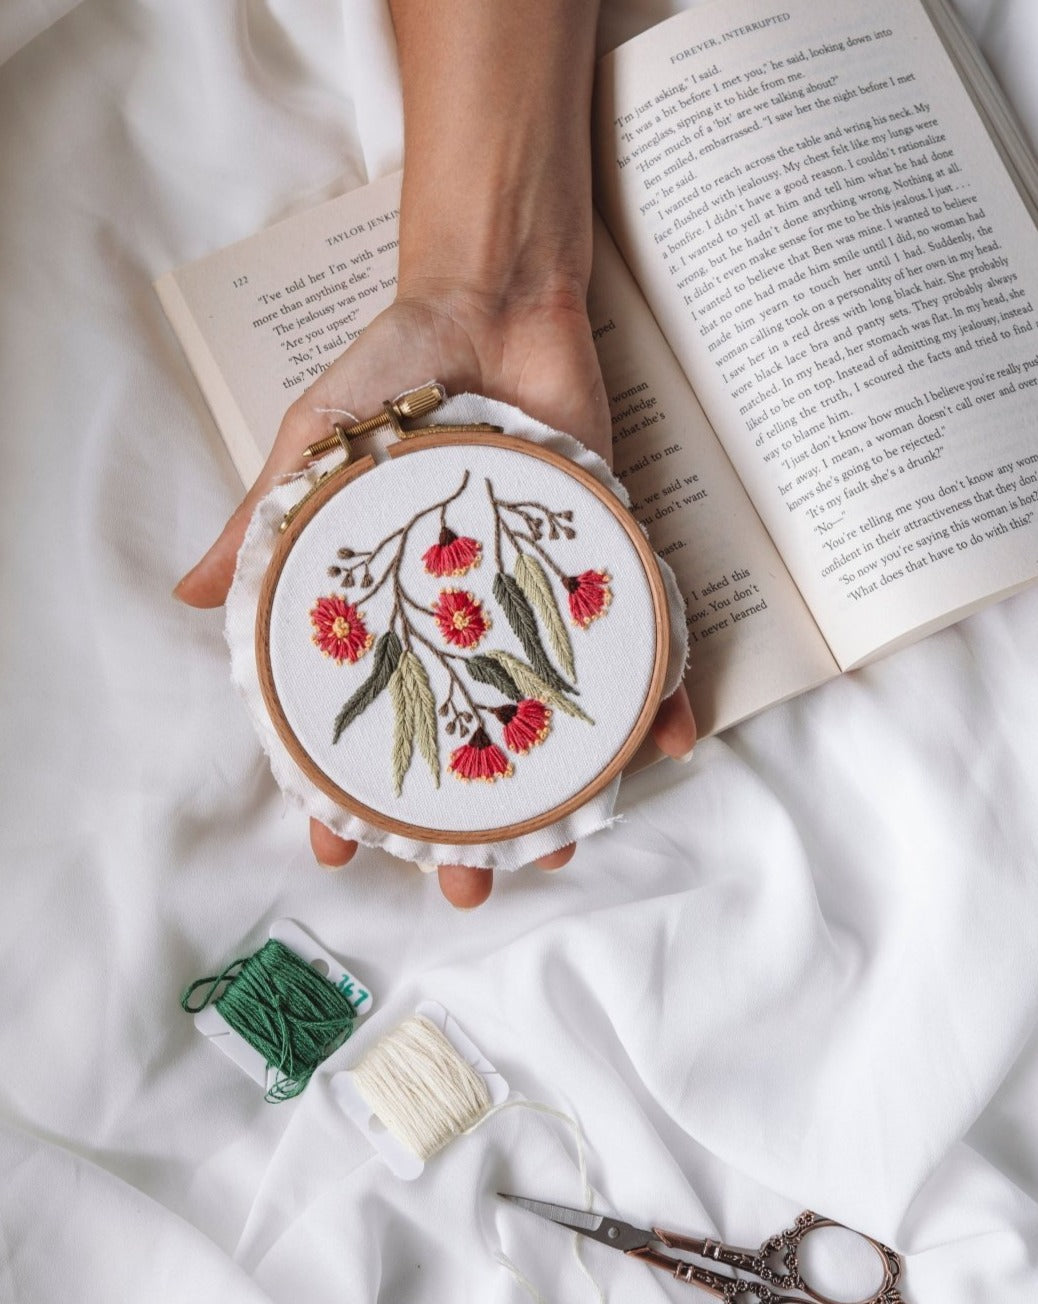
Whichever method you choose, the payoff is the same - a finished piece you are proud to hang. If you are just getting started and want a project that is worth putting on the wall when you are done, our whole range of best-selling kits is chosen with display in mind, and the gold-hardware hoops look as good on the wall as any framed print.
A quick note on hanging
Once your back is finished, hanging is simple. The screw at the top of the hoop is perfectly placed for a small nail or adhesive picture hook - the hoop will hang straight and sit flush against the wall. For gallery walls of multiple hoops, tie a short loop of thread or ribbon to the top screw for a softer, more handmade look.
Ready for your next hoop?
The moment you finish your first hoop properly is the moment you realise this is a hobby you can actually live with, decorate with, and keep coming back to. If you are ready to start another project, our mini kits collection is the easiest way to build a set you can hang together as a little gallery wall. Three minis looks great. Five minis looks fantastic. Pace yourself.
"I finished my first hoop months ago and it sat on my desk with a raggedy fabric edge because I did not know what to do with the back. Followed this guide and used the felt method - took me fifteen minutes and it looks like a different piece. Already hung it in the hallway."
- Philana D., Hobart ★★★★★
"I did the running stitch gather on my Kookaburra kit and genuinely could not believe how professional it looks. No glue, no fuss, and I did not have to buy anything extra. This tip alone was worth the price of the kit."
- Em W., Melbourne ★★★★★


Leave a comment
This site is protected by hCaptcha and the hCaptcha Privacy Policy and Terms of Service apply.